The Images feature is Meshy's built-in AI image generator. Use it to create reference images for 3D generation, explore visual styles, or modify existing artwork — all without leaving Meshy.
Overview
The Images feature supports three core workflows:
Generate from text — describe what you want and generate up to four variations from a prompt alone.
Edit a reference image — upload an image and instruct the AI to transform it (e.g. "make this low-poly" or "change the material to gold").
Combine multiple references — upload up to 5 images and blend them together (e.g. "use the shape from Image 1 and the style from Image 2").
Step-by-Step Guide
Open the Images tab in the Meshy sidebar.
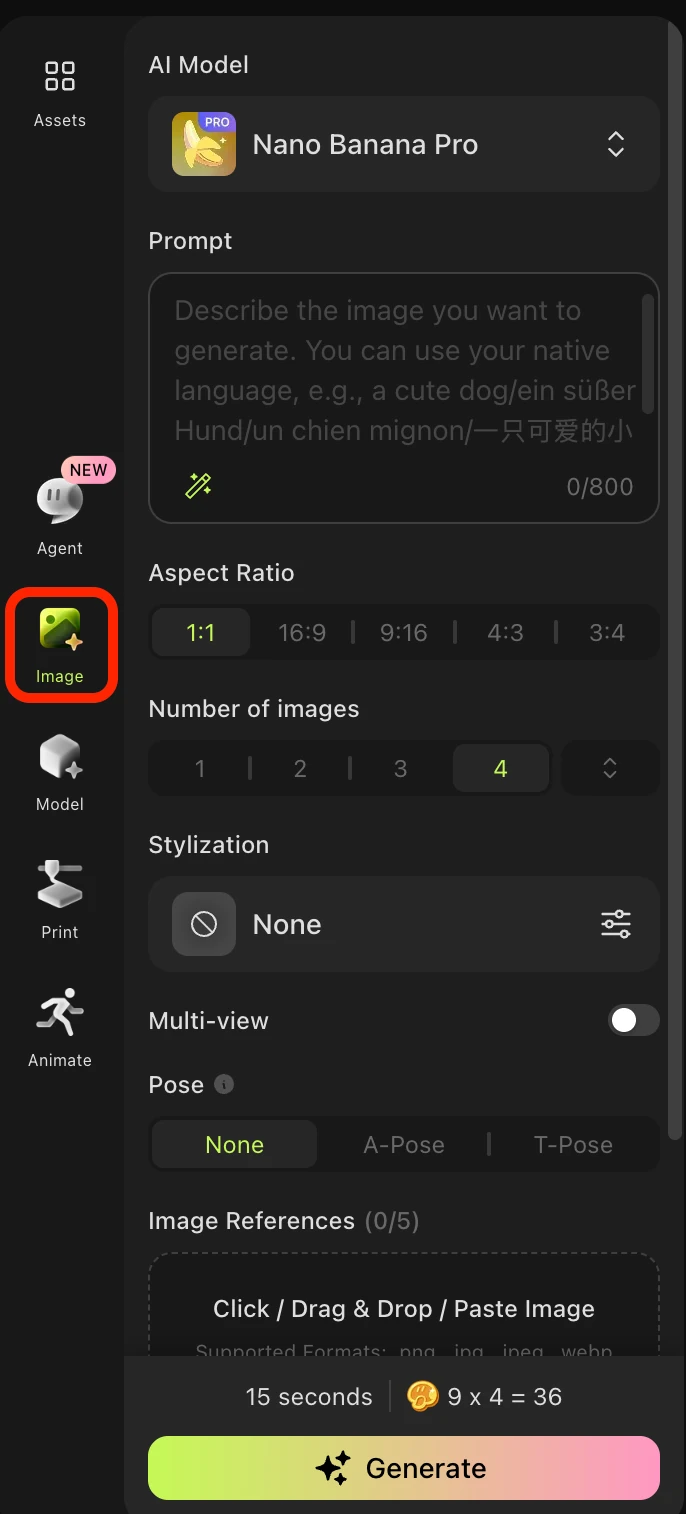
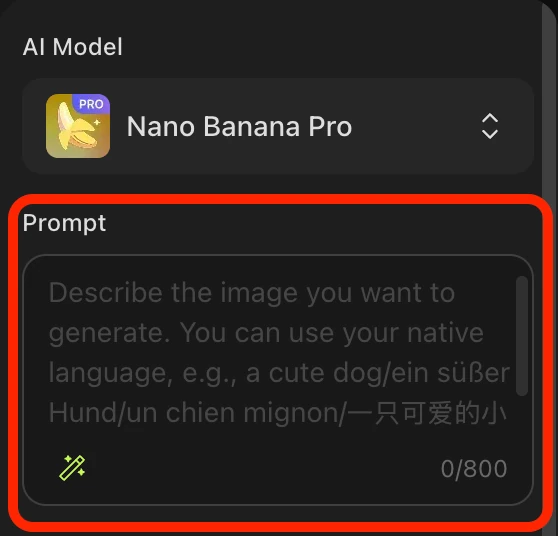
Add a text prompt: Describe the subject you want to create. Be specific about the object — the AI model and style settings will handle the look and feel. Example: "a stylized mushroom" or "a sci-fi helmet"
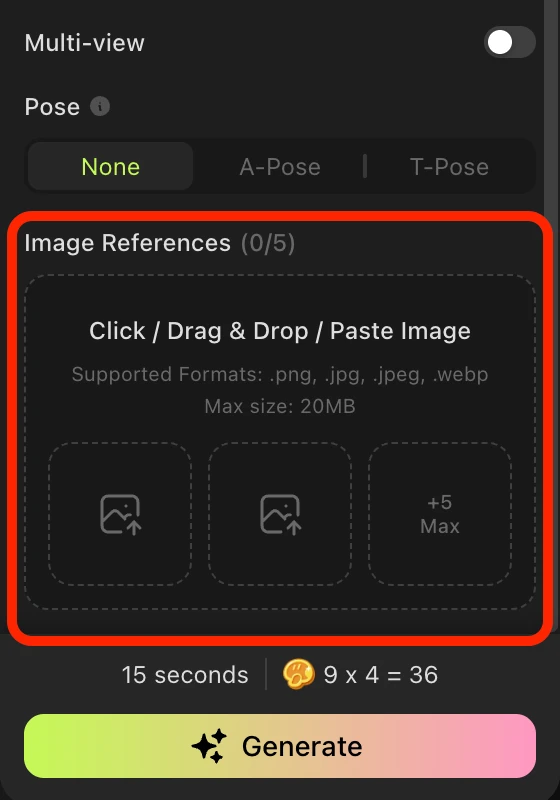
(Optional) Upload reference images: Drag and drop up to 5 images to guide the style, shape, or material. You can mix reference images — for example, one for shape and another for texture. Accepted formats: PNG, JPG, WEBP (max 20 MB each)
Configure your settings
AI Model — choose Nano Banana, Nano Banana 2, or Nano Banana Pro (see model guide below)
Aspect Ratio — 1:1 recommended for 3D conversion; 16:9, 9:16, 4:3, and 3:4 also available
Stylization Preset — pick a built-in style (Japanese Anime, Western Realism, Chibi Blind Box, etc.) or create a custom style for consistent branding
Multi-View — toggle on to generate the subject from multiple angles in one shot (great for 3D prep)
Pose — for characters, choose A-Pose or T-Pose to get clean geometry for rigging
Generate: Click Generate to produce draft images based on your prompt and settings.
Work with your results: For each draft image you can:
🔍 Expand — click the magnifying glass to view full size
➡️ Load into Image to 3D — click the arrow to send the image directly to the Image to 3D prompt
📦 Generate 3D model — click the Image to 3D button to convert immediately (credit cost shown)
Choosing the Right AI Model
All three models support the same settings (aspect ratio, stylization, multi-view, pose). The difference is speed, quality, and credit cost:
Model | Best For | Speed | Credits |
Nano Banana | Fast drafts and iteration | Fastest | 3 |
Nano Banana 2 | General use — best balance of speed and quality | Fast | 6 |
Nano Banana Pro | Maximum fidelity, complex scenes, final-quality output | Slower | 9 |
Tip: If you plan to convert the image to 3D, any Nano Banana model will give you cleaner structure and more accurate lighting than a photo-realistic reference — making the 3D conversion more predictable.
Tips for Better Results
Use 1:1 aspect ratio when generating images intended for Image to 3D — it centers the subject and produces the cleanest conversion.
Enable Multi-View for characters and objects you plan to 3D-model — the extra angles give the AI more information to work with.
Use A-Pose or T-Pose for humanoid characters. This makes rigging and animation significantly easier downstream.
When combining references, be explicit in your prompt about which image governs which aspect: "use the color palette from Image 1 and the silhouette from Image 2."
Clear, well-lit reference images with a single focal subject produce more predictable style transfer. Avoid images with text overlays, watermarks, or busy backgrounds.
FAQ
1. Do I need a reference image to generate?
No — a text prompt alone is enough. Reference images are entirely optional and can be added to guide style, shape, or material.
2. How many reference images can I upload?
Up to 5 images. You can mix different references — for example, one for structure and one for surface style — and instruct the AI in your prompt on how to blend them.
3. Which model should I choose?
Nano Banana — fastest, great for rapid iteration and concept exploration.
Nano Banana 2 — the best all-rounder; recommended as your default.
Nano Banana Pro — highest fidelity for final-quality output or complex scenes.
4. What are stylization presets?
Presets apply a consistent visual style to your generation — options include Japanese Anime, Western Realism, Chibi Blind Box, and more. You can also create a custom style from your own reference images to keep a consistent look across all your assets.
5. What is Multi-View generation?
Multi-View generates your subject from multiple angles in a single generation. This is especially useful when you plan to convert the image to a 3D model — the additional perspectives give the AI more visual information to reconstruct geometry accurately.
6. What are the Pose options for?
Pose (A-Pose / T-Pose) is designed for humanoid characters. Generating a character in a neutral pose makes rigging and animation much easier if you plan to use the model in a game engine or animation tool.
7. Can I send a generated image directly to Image to 3D?
Yes — click the arrow icon on any draft image to load it into the Image to 3D prompt, or click the Image to 3D button to convert it immediately. The credit cost is shown before you confirm.