
How to Get Multi-Color Prints with Meshy
Option A — Use Meshy's Built-in Multi-Color Printing Feature (Recommended)
Meshy now offers a built-in Multi-Color Printing tool that converts your textured model into print-ready multi-color data:
-
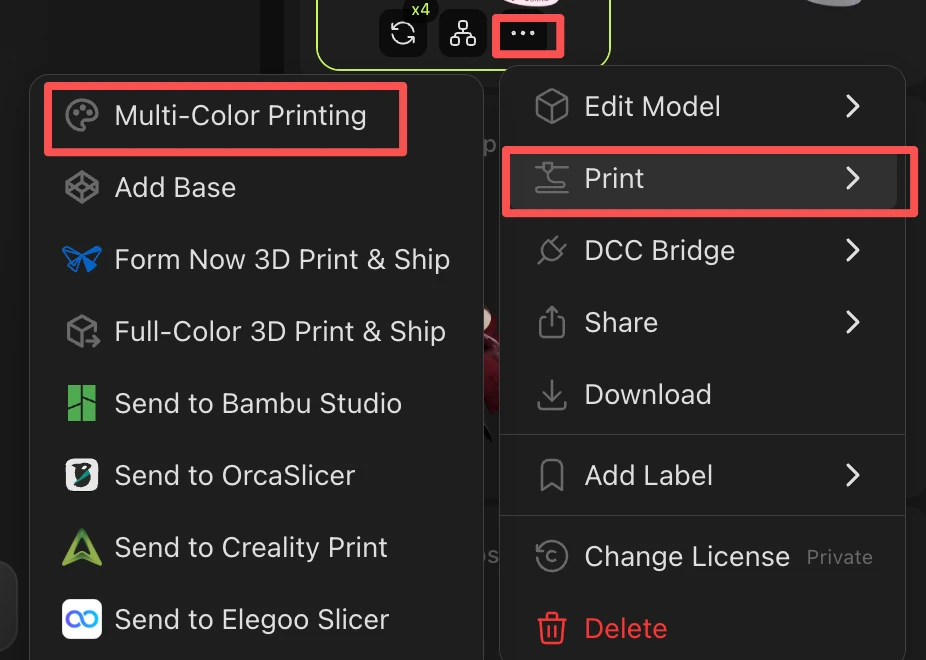
Once you are satisfied with your model, click the printing icon at the bottom and choose Multi-Color Printing to enter the optimization suite.
-
Select your color count (1–16 colors). We recommend 4 colors for the best balance between quality and efficiency. The system will automatically detect and assign the dominant colors to your model.
-
Adjust the Level of Detail to match your print needs.
-
Export the optimized model and import it into Bambu Studio — the multi-color data will be preserved.
→ Full Meshy Multi-color guide: https://www.meshy.ai/tutorials/multicolor-3d-printing-with-meshy
Option B — Paint Manually in Bambu Studio
If you prefer full manual control over color placement:
-
Export your model from Meshy as STL.
-
Import the STL into Bambu Studio — the geometry loads correctly.
-
Use Bambu Studio's Color Painting tool to manually assign filament colors to different regions of the model.
-
Slice and print as normal.
→ Full Bambu guide: https://wiki.bambulab.com/en/software/bambu-studio/multi-color-printing