
Overview
If you exported a 3MF file from Meshy, but when you open it in Bambu Studio or OrcaSlicer, the model shows up as a single flat gray color instead of my textures/colors.This usually happens for one of the following reasons:
-
Wrong export method — The model was exported using a standard/basic 3MF export instead of the dedicated Multi-Color Print export tool.
-
Slicer view mode — The slicing software is still displaying the default "single filament" or "Object" geometry view, rather than the "Color/Filament" view that shows painted color assignments.
-
Import method overwrote color data — Double-clicking the 3MF file to load it as an "Open Project" can cause the slicer to override the color/material mapping instead of preserving it.
How to fix this on the Meshy side?
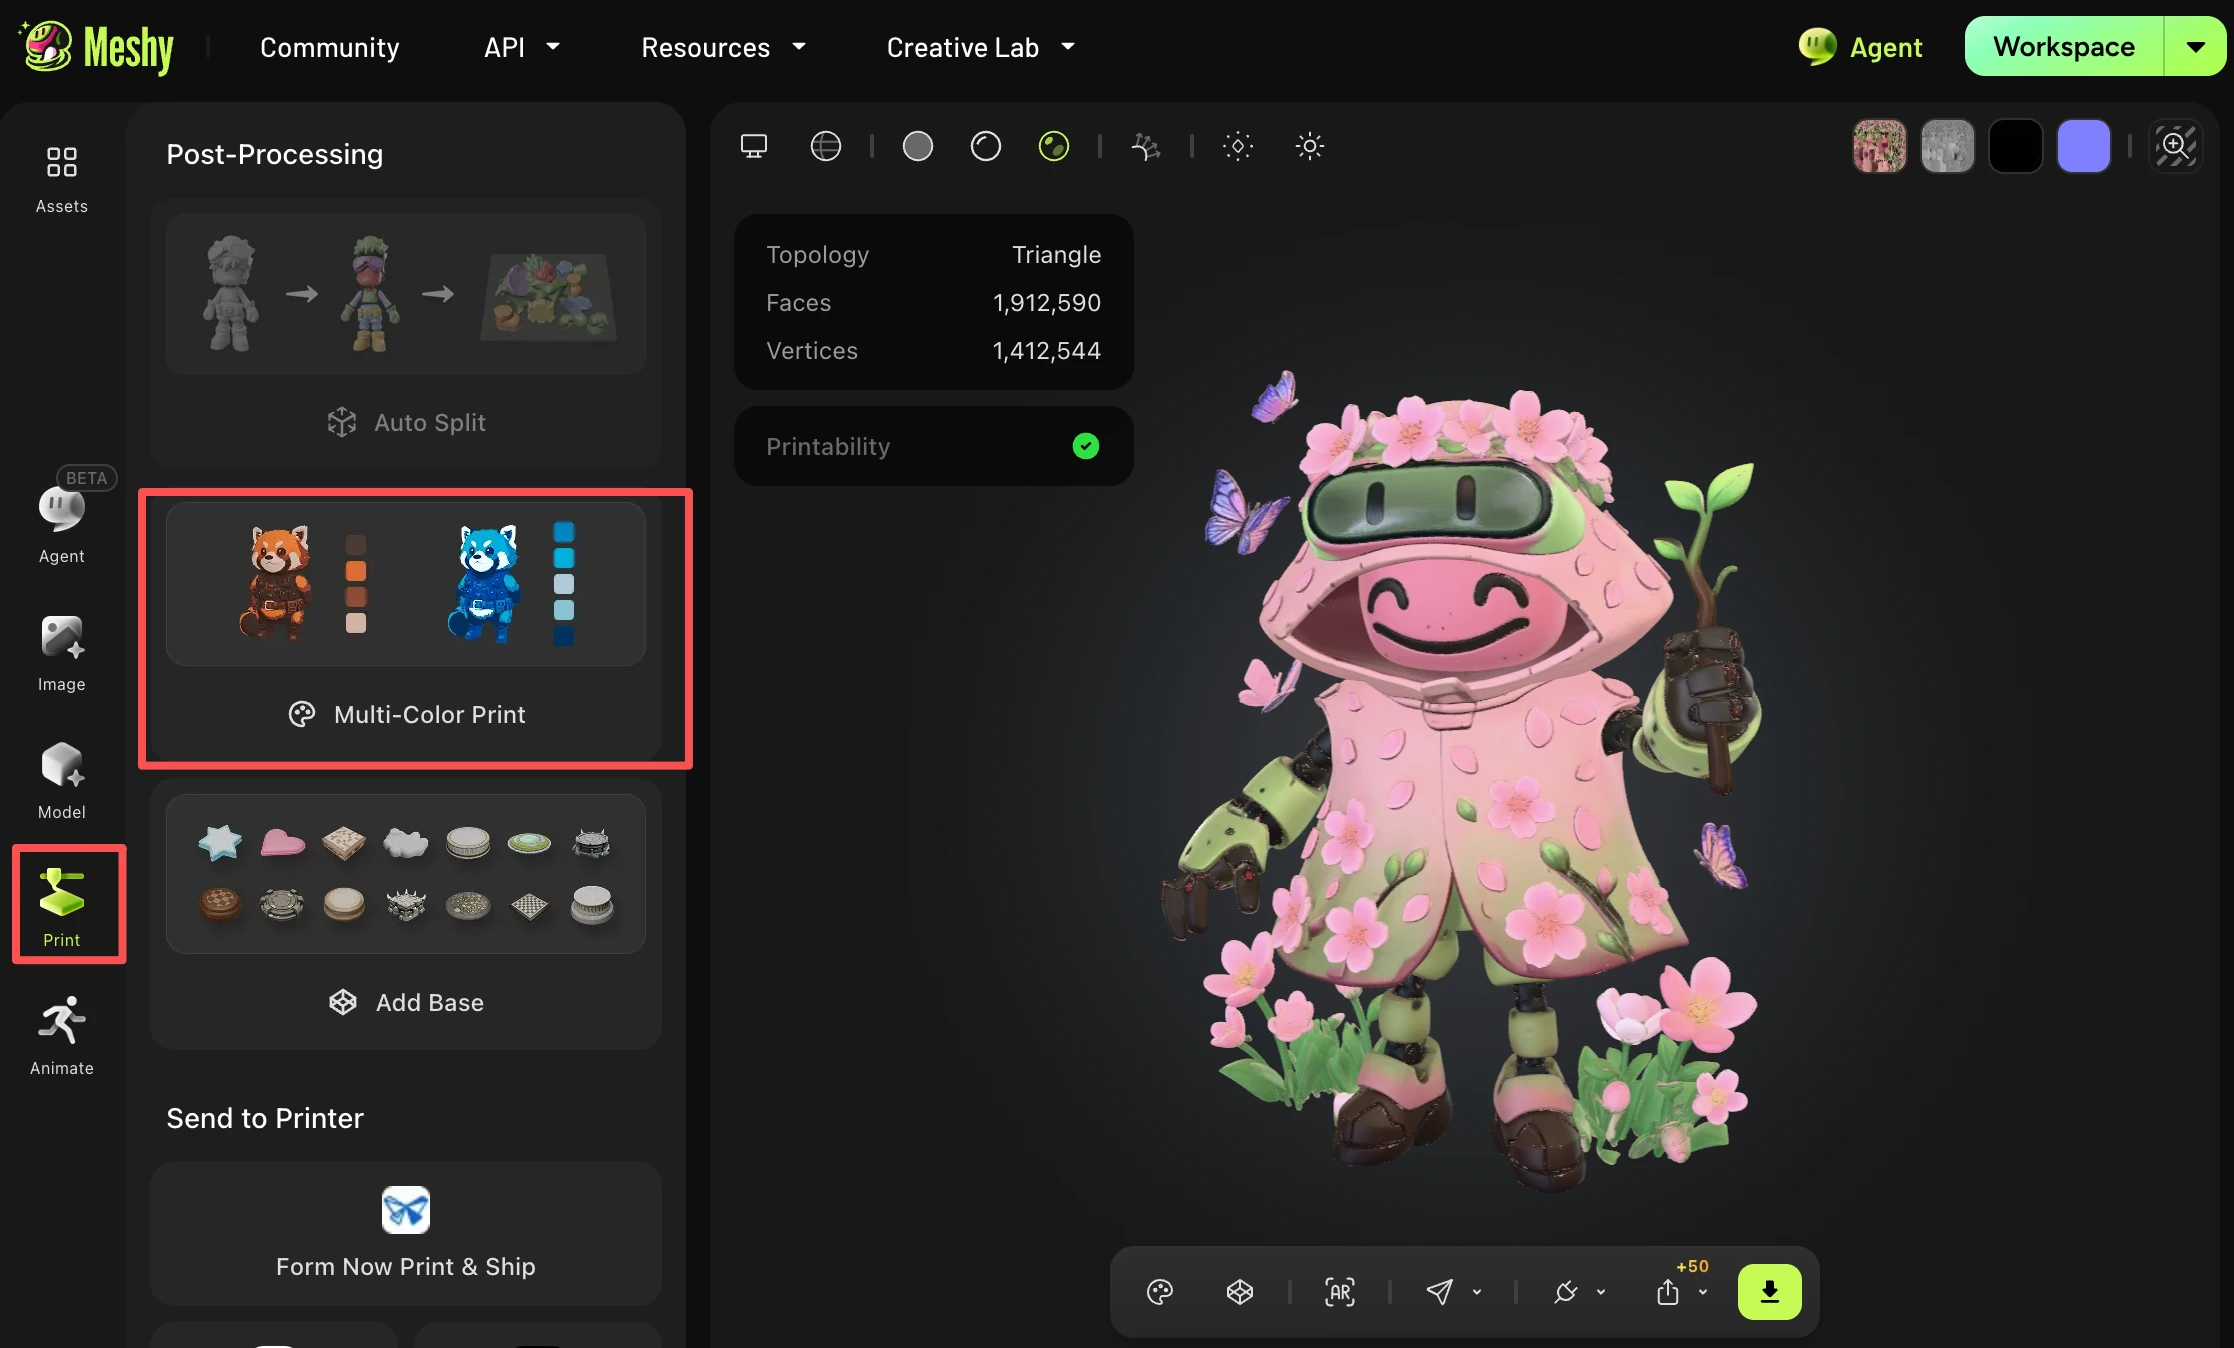
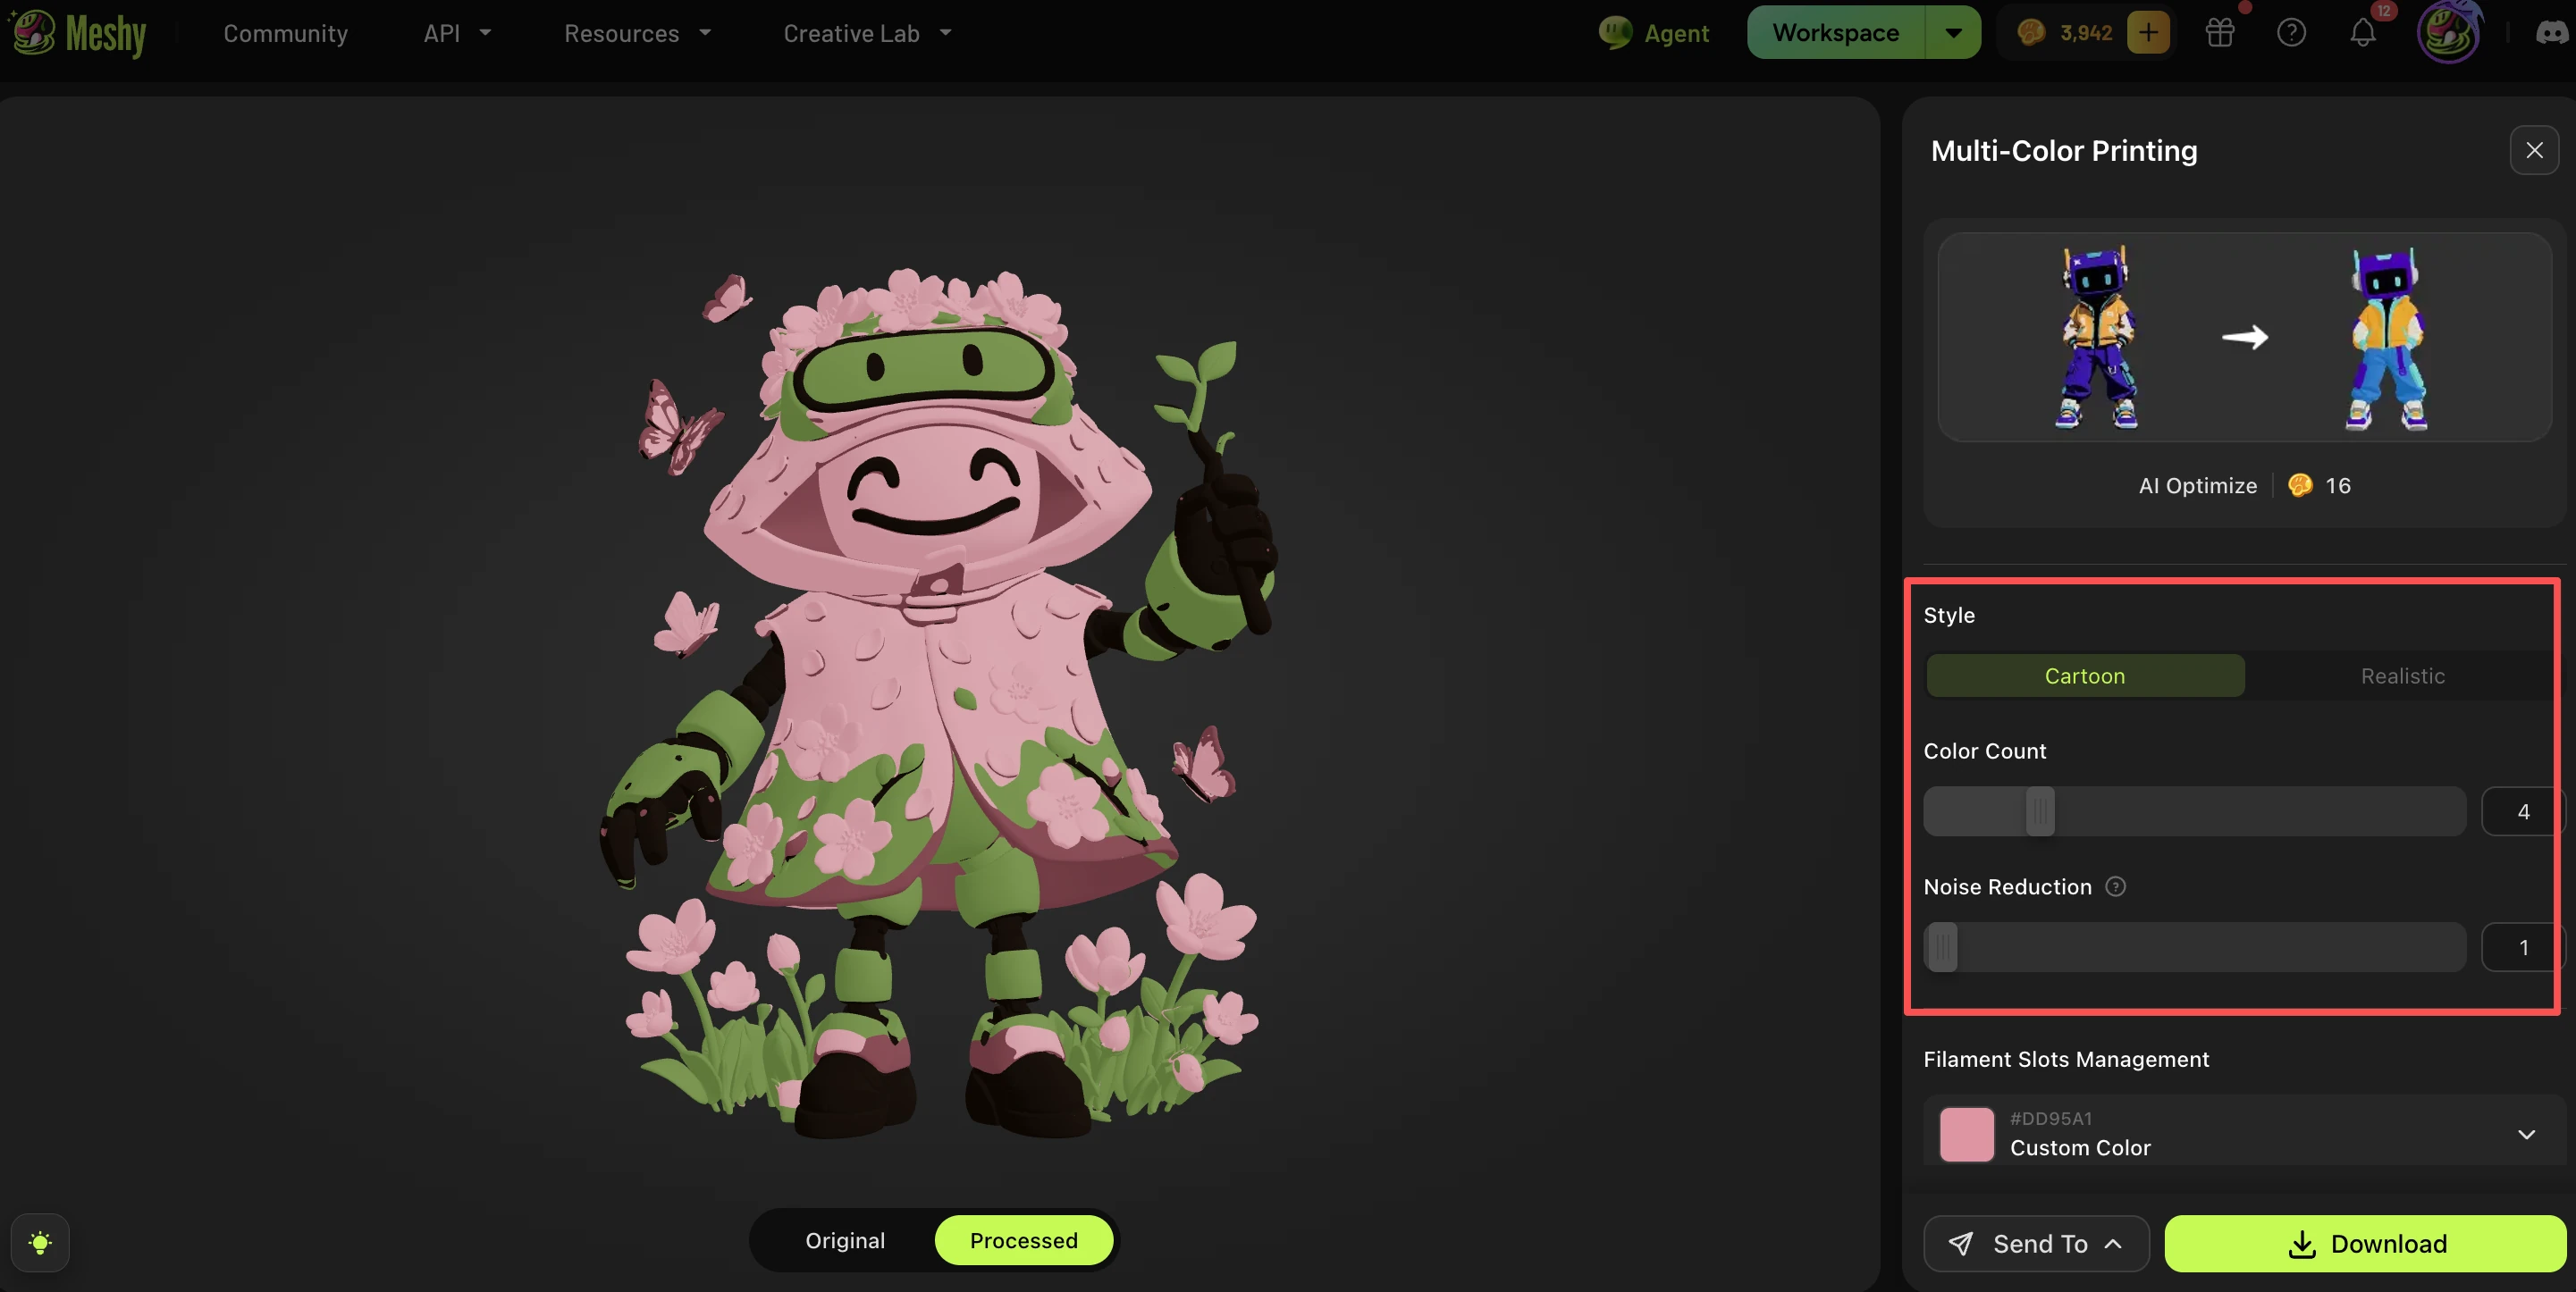
After your model generation and texturing are complete, use the Print → Multi-Color Print tool from the post-processing feature of Print. This automatically bakes your textured model into a color-segmented / vertex-color file that slicers can properly recognize. See the complete tutorial for the Multi-Color guide.
How do I fix this on the slicer side (Bambu Studio / OrcaSlicer)?
We recommend importing the 3MF using: File → Import → Import 3D Models
rather than double-clicking to open it as a project. Then, switch the view mode at the top to: Preview → Color.This will correctly display the multi-color/multi-material breakdown instead of a flat gray model.
Which method should I use — export via Multi-Color Print, or the standard 3MF export?
If you plan to 3D print with multiple colors/filaments, always use Print → Multi-Color Print for export, and import via File → Import → Import 3D Models in your slicer.
Standard 3MF export is only suitable if you don't need color/material segmentation preserved for printing.
FAQ
1. Can I get multi-color prints from a text prompt alone?
Yes — Text to 3D generates both geometry and texture, which you can then run through the Multi-Color Printing tool the same way as an image-based model.
2. How many colors should I choose?
4 colors is a good starting point for most printers. Fewer colors print faster and simpler; more colors capture finer detail but add complexity for your slicer and printer.
3. Does this work with printers that don't have an AMS or multi-material unit?
Multi-color 3MF workflows are designed for AMS-style setups. On single-extruder printers without color-swapping hardware, you'll need to manually paint or swap filament between prints.