
Meshy is an AI-powered 3D generation platform that turns text prompts and photos into ready-to-use 3D models — no prior 3D modeling experience required. Whether you're making game assets, 3D prints, concept art, or creative prototypes, this guide walks you through everything you need to get started.
Free Credits & Plans
Every new Meshy account comes with 100 free credits per month — no credit card required. Credits reset on the 1st of each month (UTC). Here's what each task costs:
Task | Credits |
Text to 3D — Model Stage (Meshy 6) | 20 |
Text to 3D — Texture Stage | 10 |
Image to 3D (with texture) | 30 |
Image to 3D (without texture) | 20 |
AI Texturing / Retexture | 10 |
Smart-Rig (rigging & animation) | 0 |
Text to Motion | 3 |
For Individuals:
-
Free plan: Lower queue priority, CC BY 4.0 license on outputs, no API access, no credit top-ups.
-
Pro ($20/mo): 1,000 credits, API access, Free Retry on generations, 10× faster queue.
-
Premium ($40/mo): 3,000 credits, API, 12 Free Retry's, higher queue priority
-
Ultra ($50/mo): 8,000 credits, API, 40 Free Retry's, highest queue priority.
For Teams:
-
Studio ($60/mo): 4,000 credits, highest priority, ideal for teams.
-
Enterprise: fill out a form here, and select "Enterprise Solutions" from the topic drop-down
Getting Started: Create Your Account
Head to meshy.ai and sign up — Google, Discord, or email all work. Once logged in, you'll land in the Workspace, where all generation tools live.
Creating Your First 3D Model
Meshy offers two core generation methods: Text to 3D and Image to 3D.
Text to 3D
Turn a written description into a fully textured 3D model.
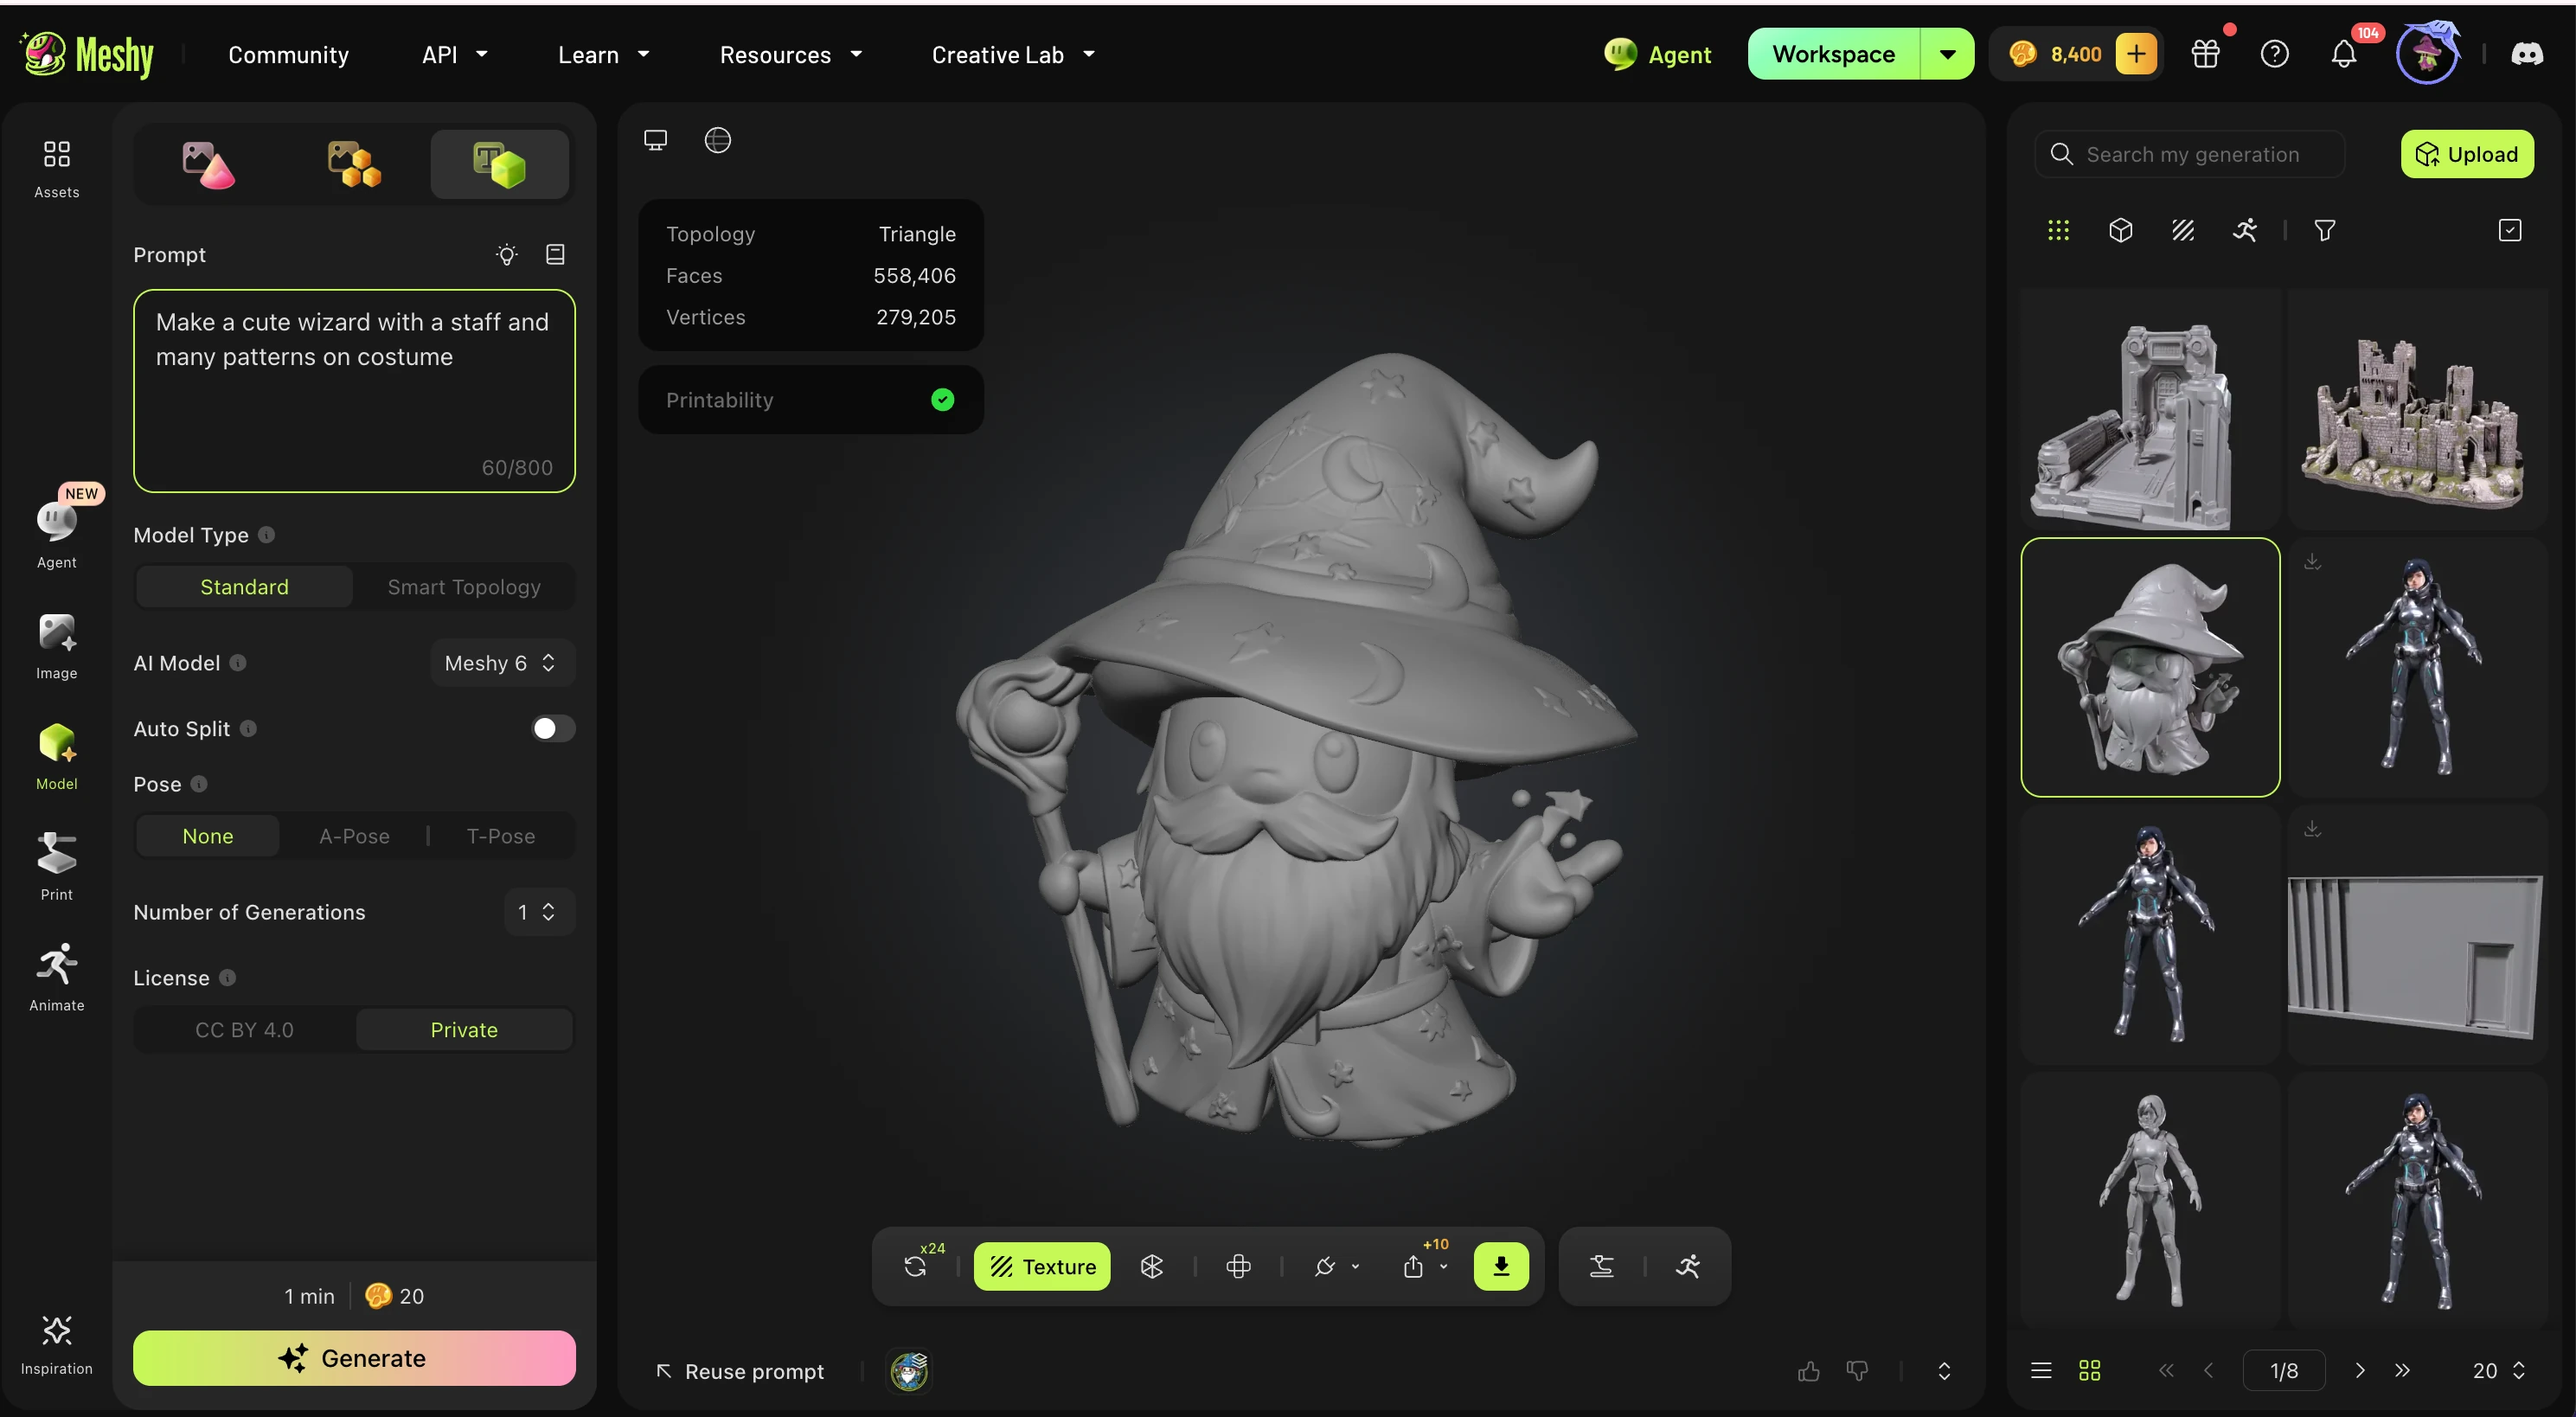
How it works:
-
Select Model from the left sidebar
-
Click the Text to 3D icon at the top left
-
Choose Meshy 7 as your AI model (recommended for best quality)
-
Write a prompt describing your model
-
Click Generate — the Model Stage runs first (20 credits). You get a clean white mesh you can download immediately.
-
Optionally click Texture to apply AI-generated PBR textures (+10 credits = 30 total)
Prompt tips for best results:
-
Focus on one object, not a full scene
-
Use 3–6 specific details: material, style, shape, color, pose
-
✅ Good: "A sleek retro-futuristic helmet, brushed chrome, dark visor"
-
❌ Avoid: smoke/fire/glowing energy effects, abstract concepts, ultra-fine details like individual hair strands
-
For characters you plan to rig, add "T-Pose" to your prompt
Free Retry: On Pro+, you can regenerate once for free immediately after a generation — great for quick prompt tweaks without spending extra credits.
Image to 3D
Turn a photo, sketch, or concept art into a 3D model.
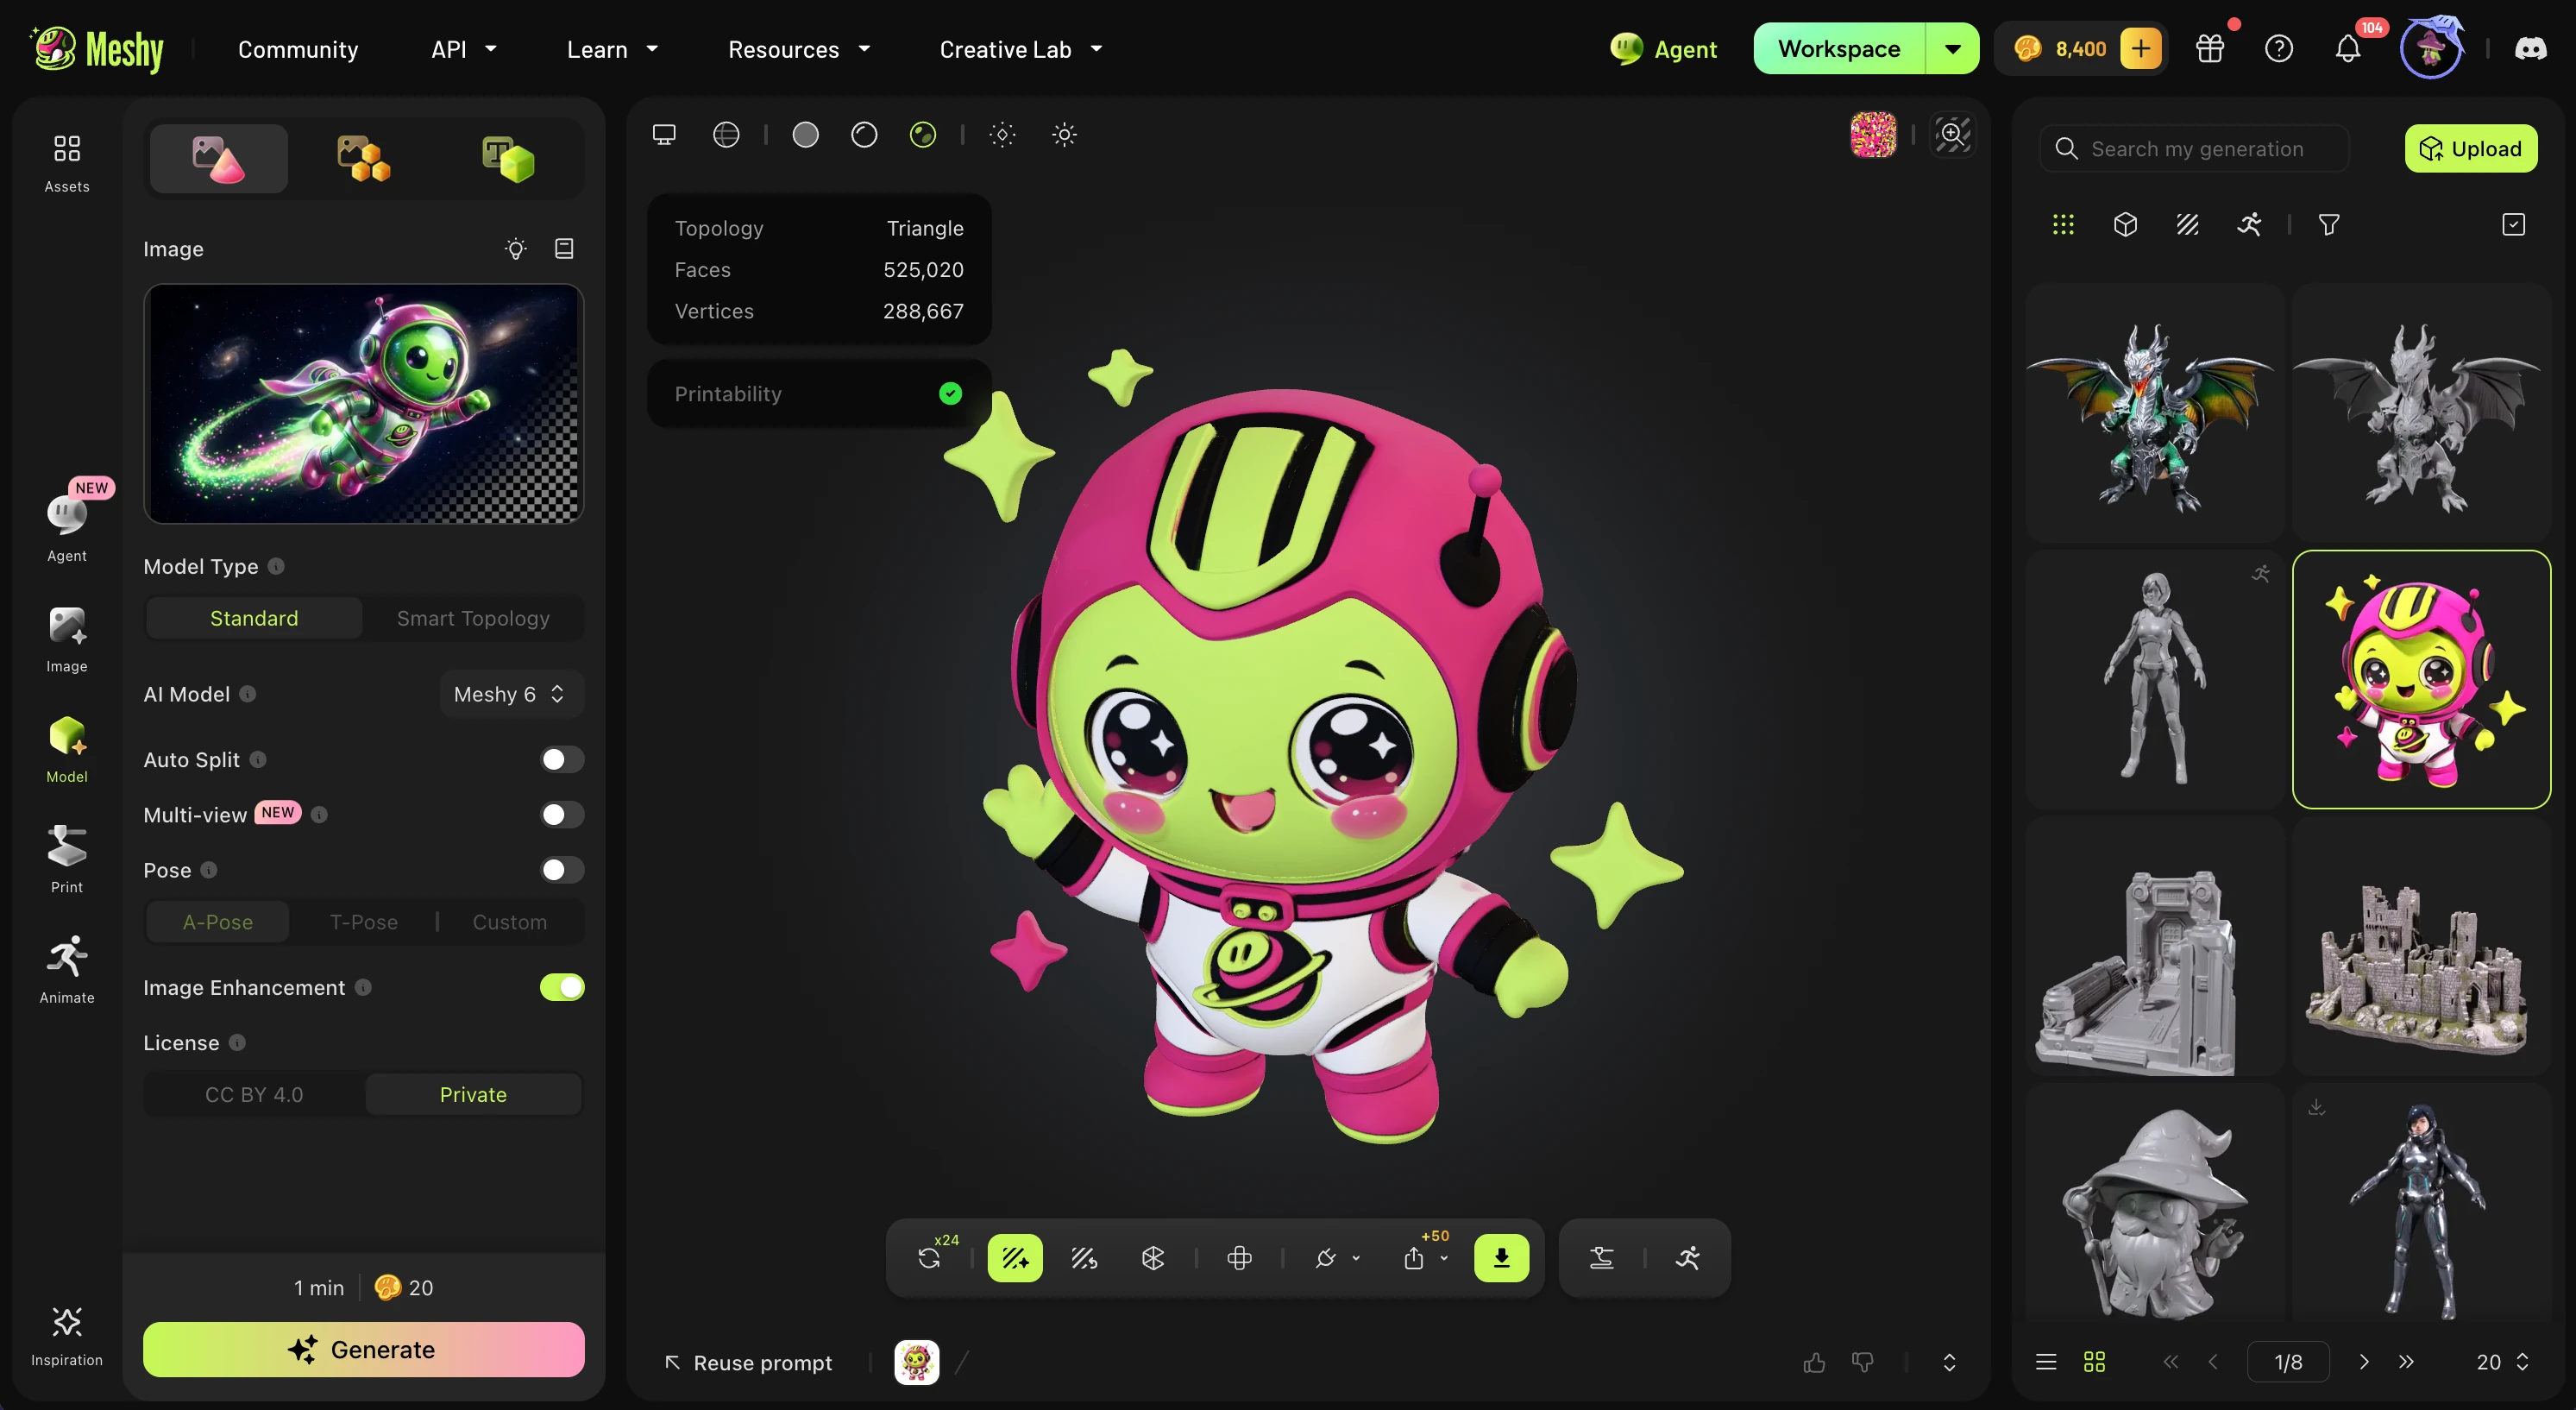
Single image:
-
Select Model on the left hand toolbar, then the Image to 3D button
-
Upload a clear, front-facing image on a plain background
-
Choose Meshy 7 → Generate (20–30 credits depending on texture)
-
Your model generates in ~60 seconds
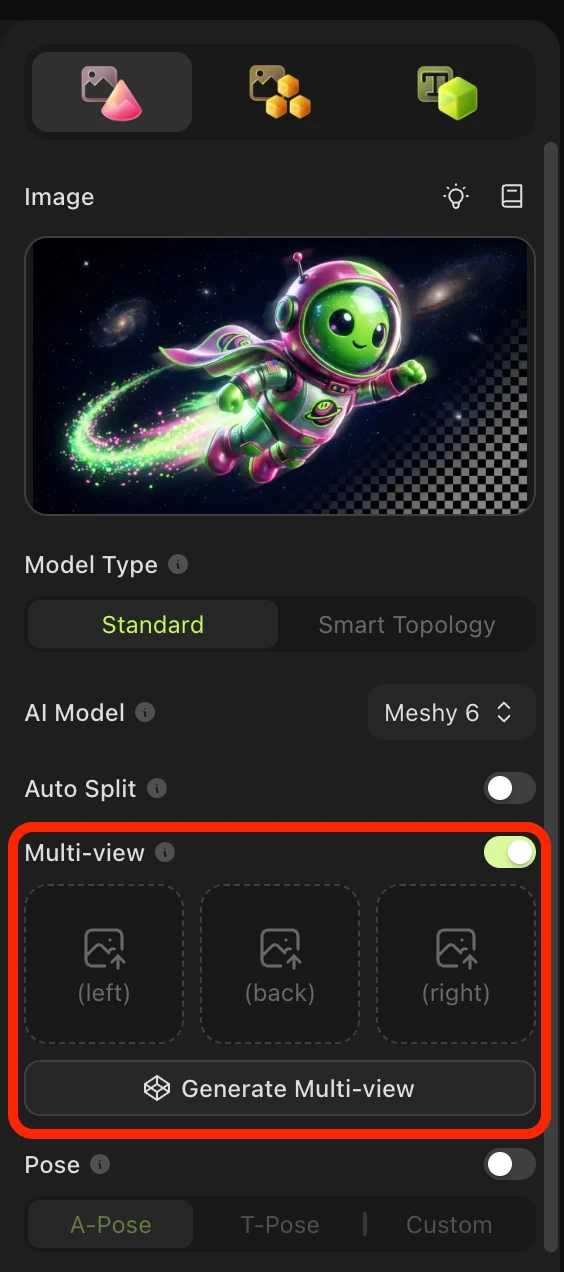
Multi-view mode (paid plans only):
For complex or asymmetric objects, upload up to 4 photos from different angles. Meshy reads each view directly — so logos, handles, and back panels accurately match your reference instead of being guessed by the AI.
Post-Processing Your Model
Once you have a base model, Meshy's post-processing tools let you refine it for any use case.
AI Texturing
Apply photorealistic PBR textures to any model — Meshy-generated or your own upload.
-
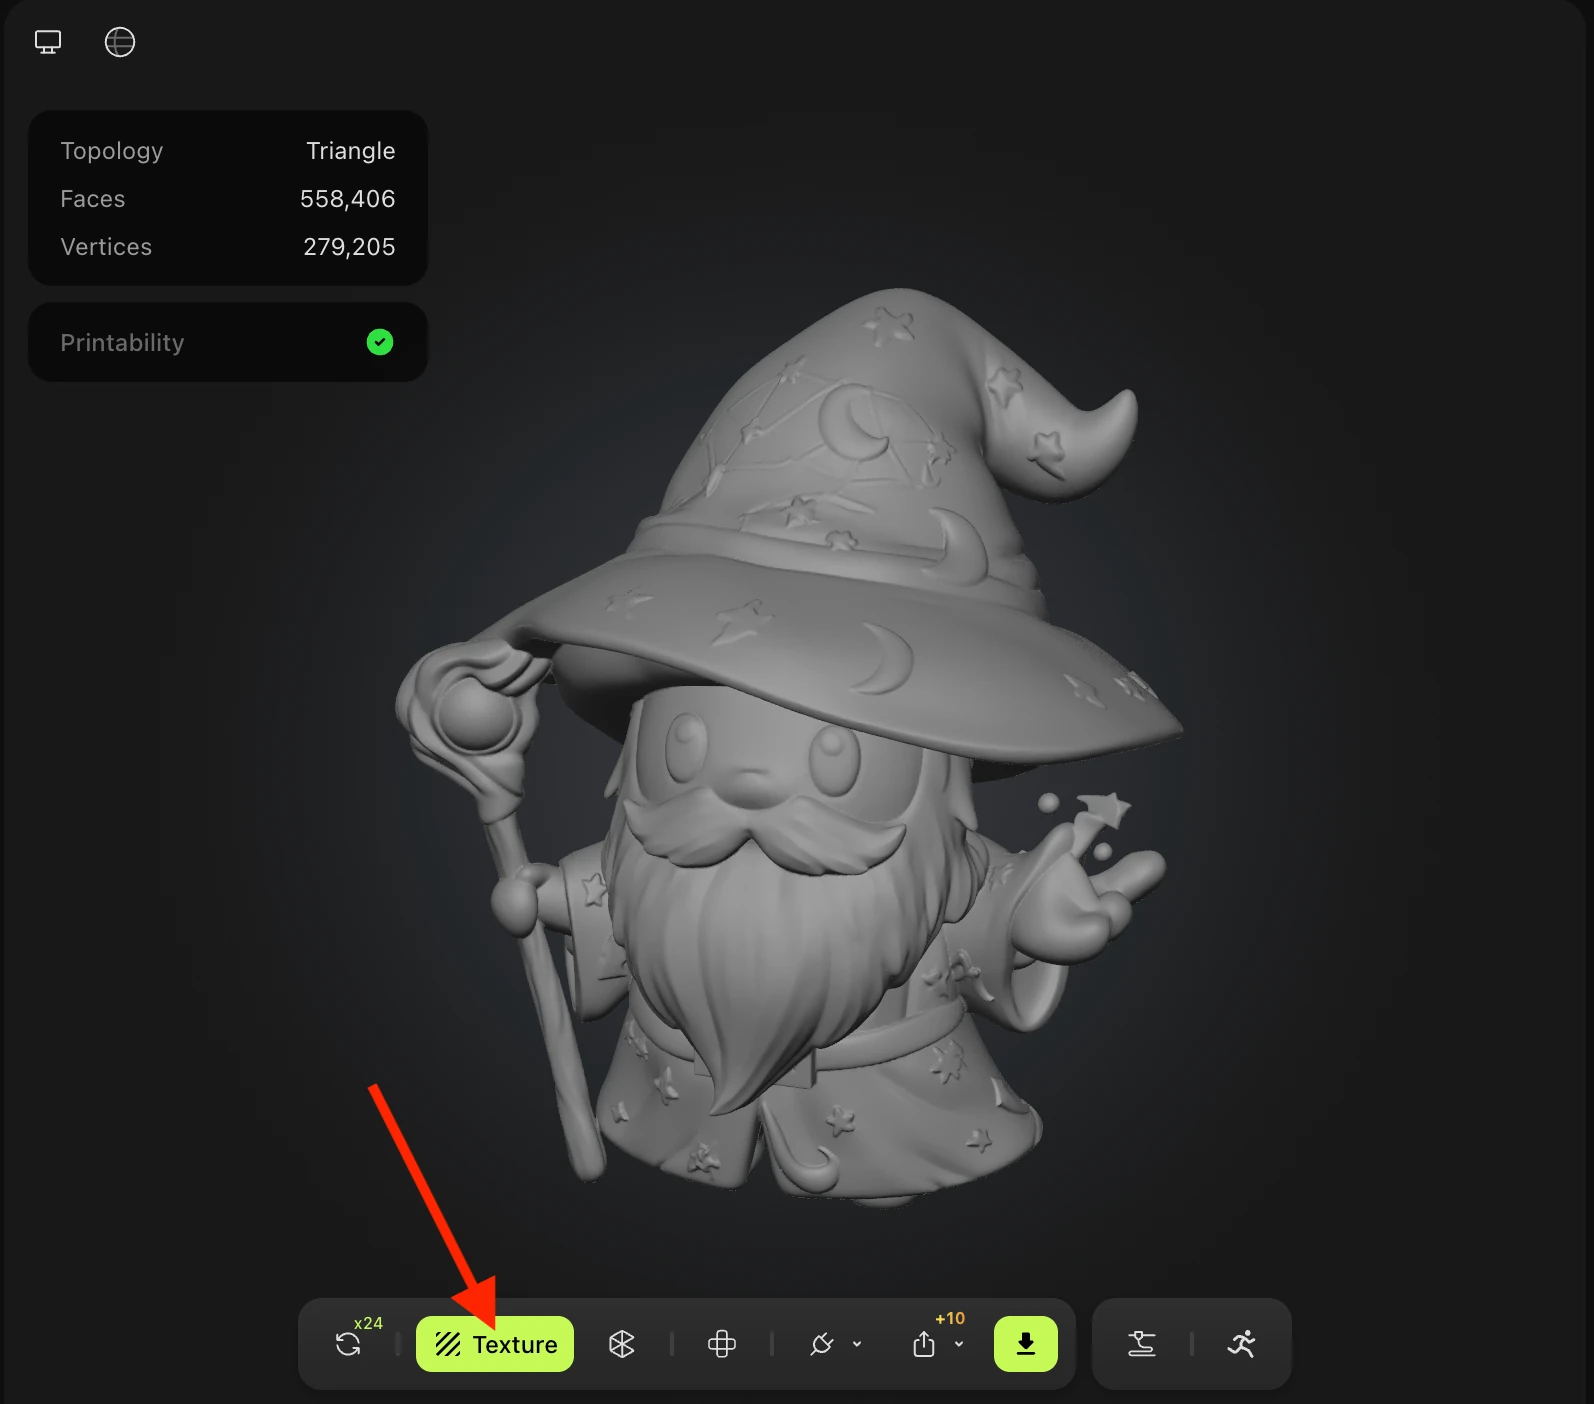
Open the model in the Viewer
-
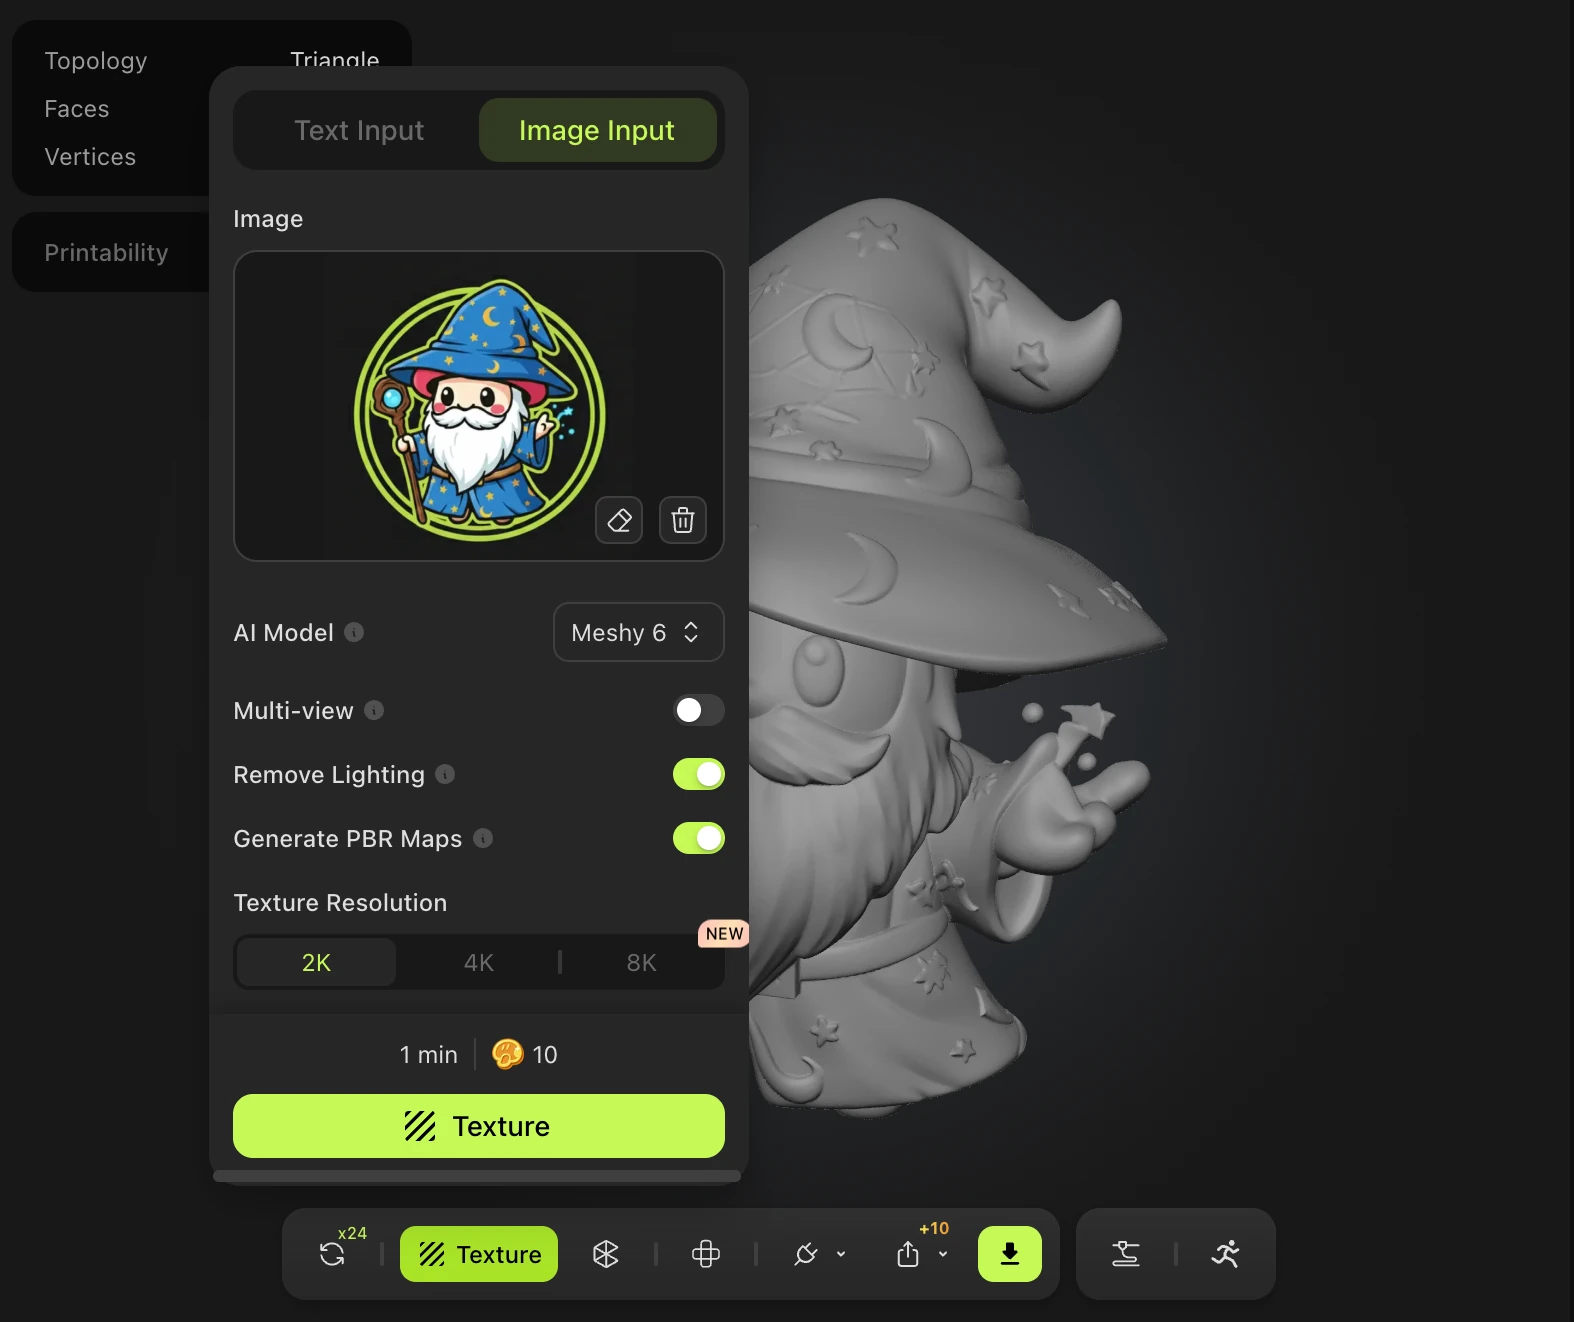
Click Texture and write a style prompt describing the look you want
-
Meshy generates albedo, metalness, roughness, and normal maps automatically
Remesh
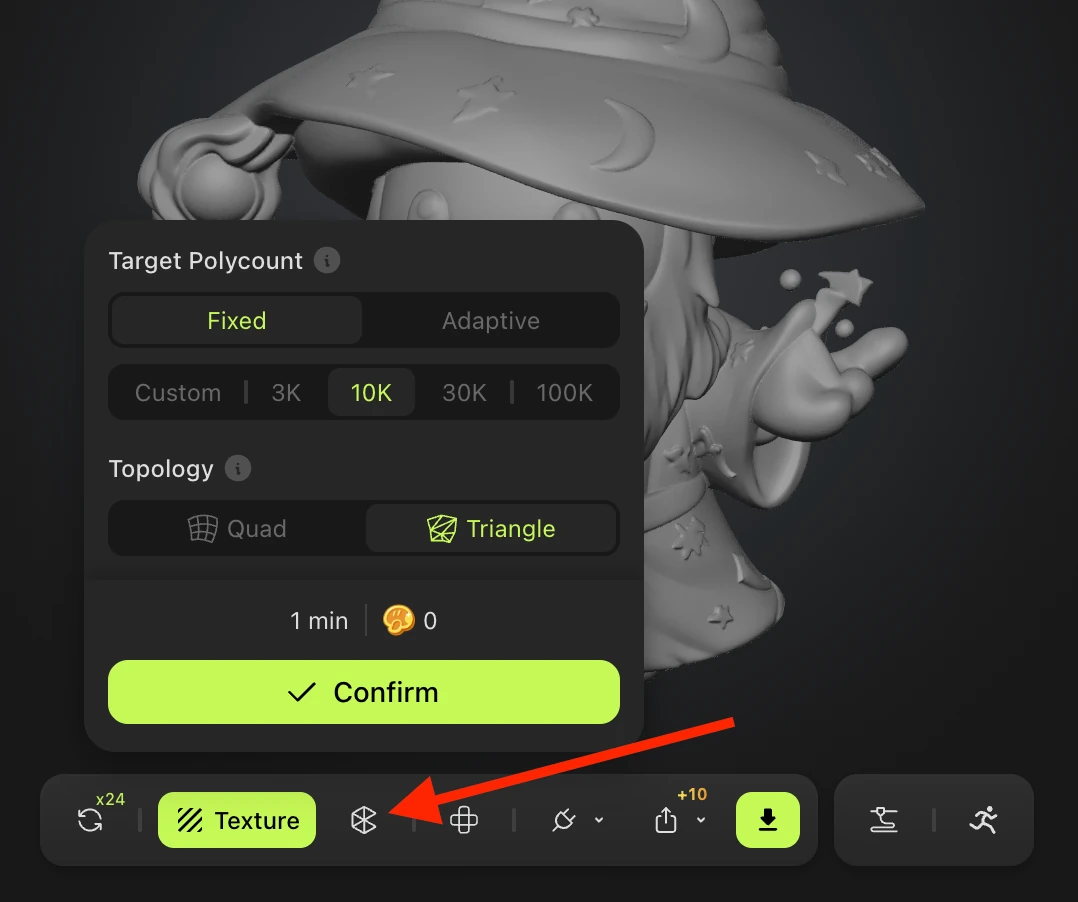
Optimize your model's polygon count and topology for your specific output.
-
Higher polycount → more detail, better for 3D printing
-
Lower polycount → better real-time performance in game engines
-
Triangle topology → 3D printing, fast rendering
-
Quad topology → further sculpting/editing in Blender or ZBrush
Animation
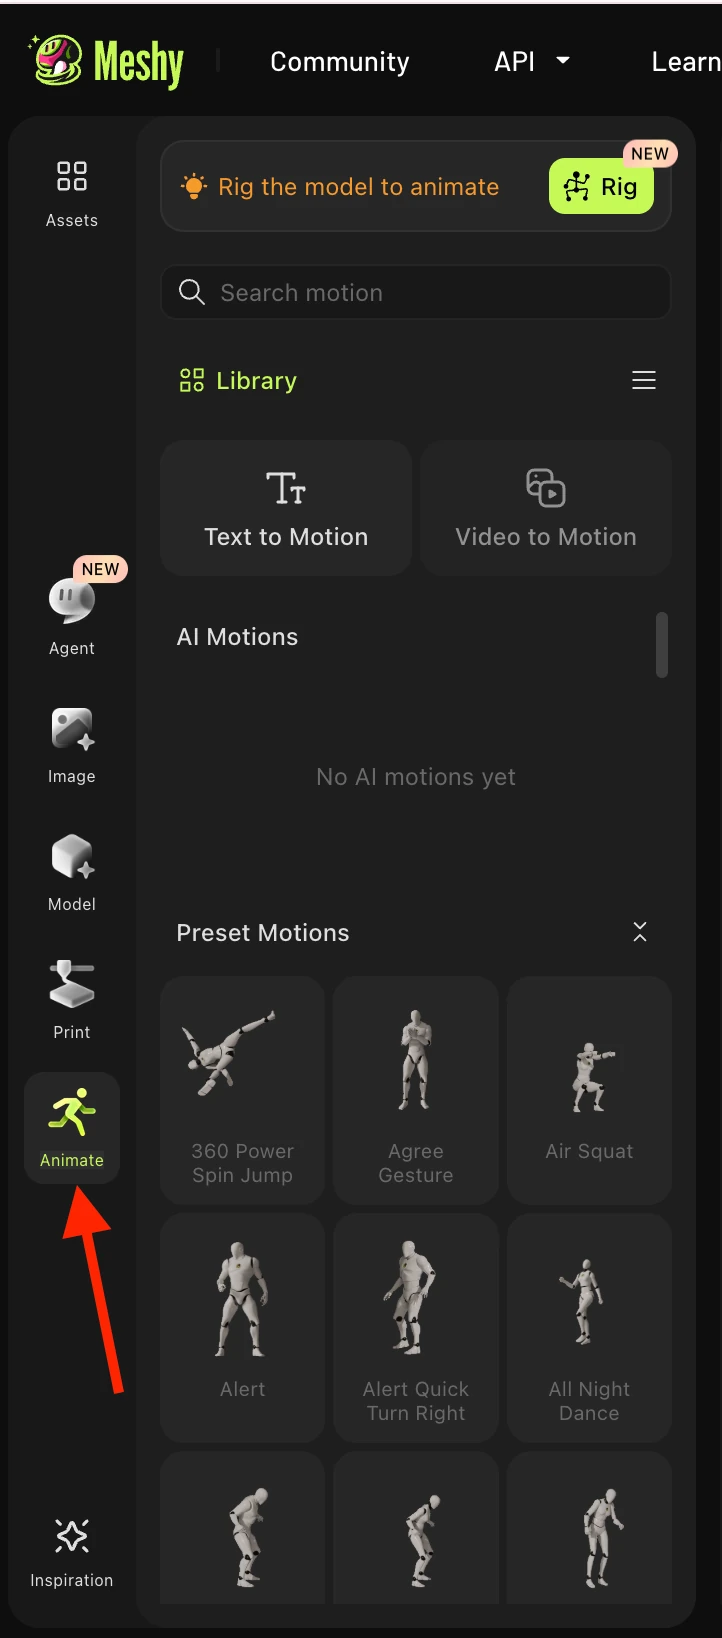
Bring characters to life with auto-rigging and 500+ animation presets — Smart-Rig costs 0 credits.
-
Open the Animation Panel
-
Select your character type and place rigging points
-
Preview animation presets
-
Download your fully rigged and animated model
Exporting Your Model
Meshy exports in multiple formats. Use this guide to pick the right one:
Format | Best For |
GLB | Default choice — one file, preserves PBR textures, works everywhere |
FBX | Game engines (Unity, Unreal), rigged characters |
OBJ | Legacy tools — keep the .mtl + texture files together |
USDZ | Apple AR (iOS, Reality Composer) |
STL | 3D printing (geometry only, no texture) |
3MF | Multi-color 3D printing — Meshy 6 and above |
Tip: GLB → FBX → OBJ in order of cross-program reliability. OBJ is the most universal but the most lossy.
Explore the Meshy Community
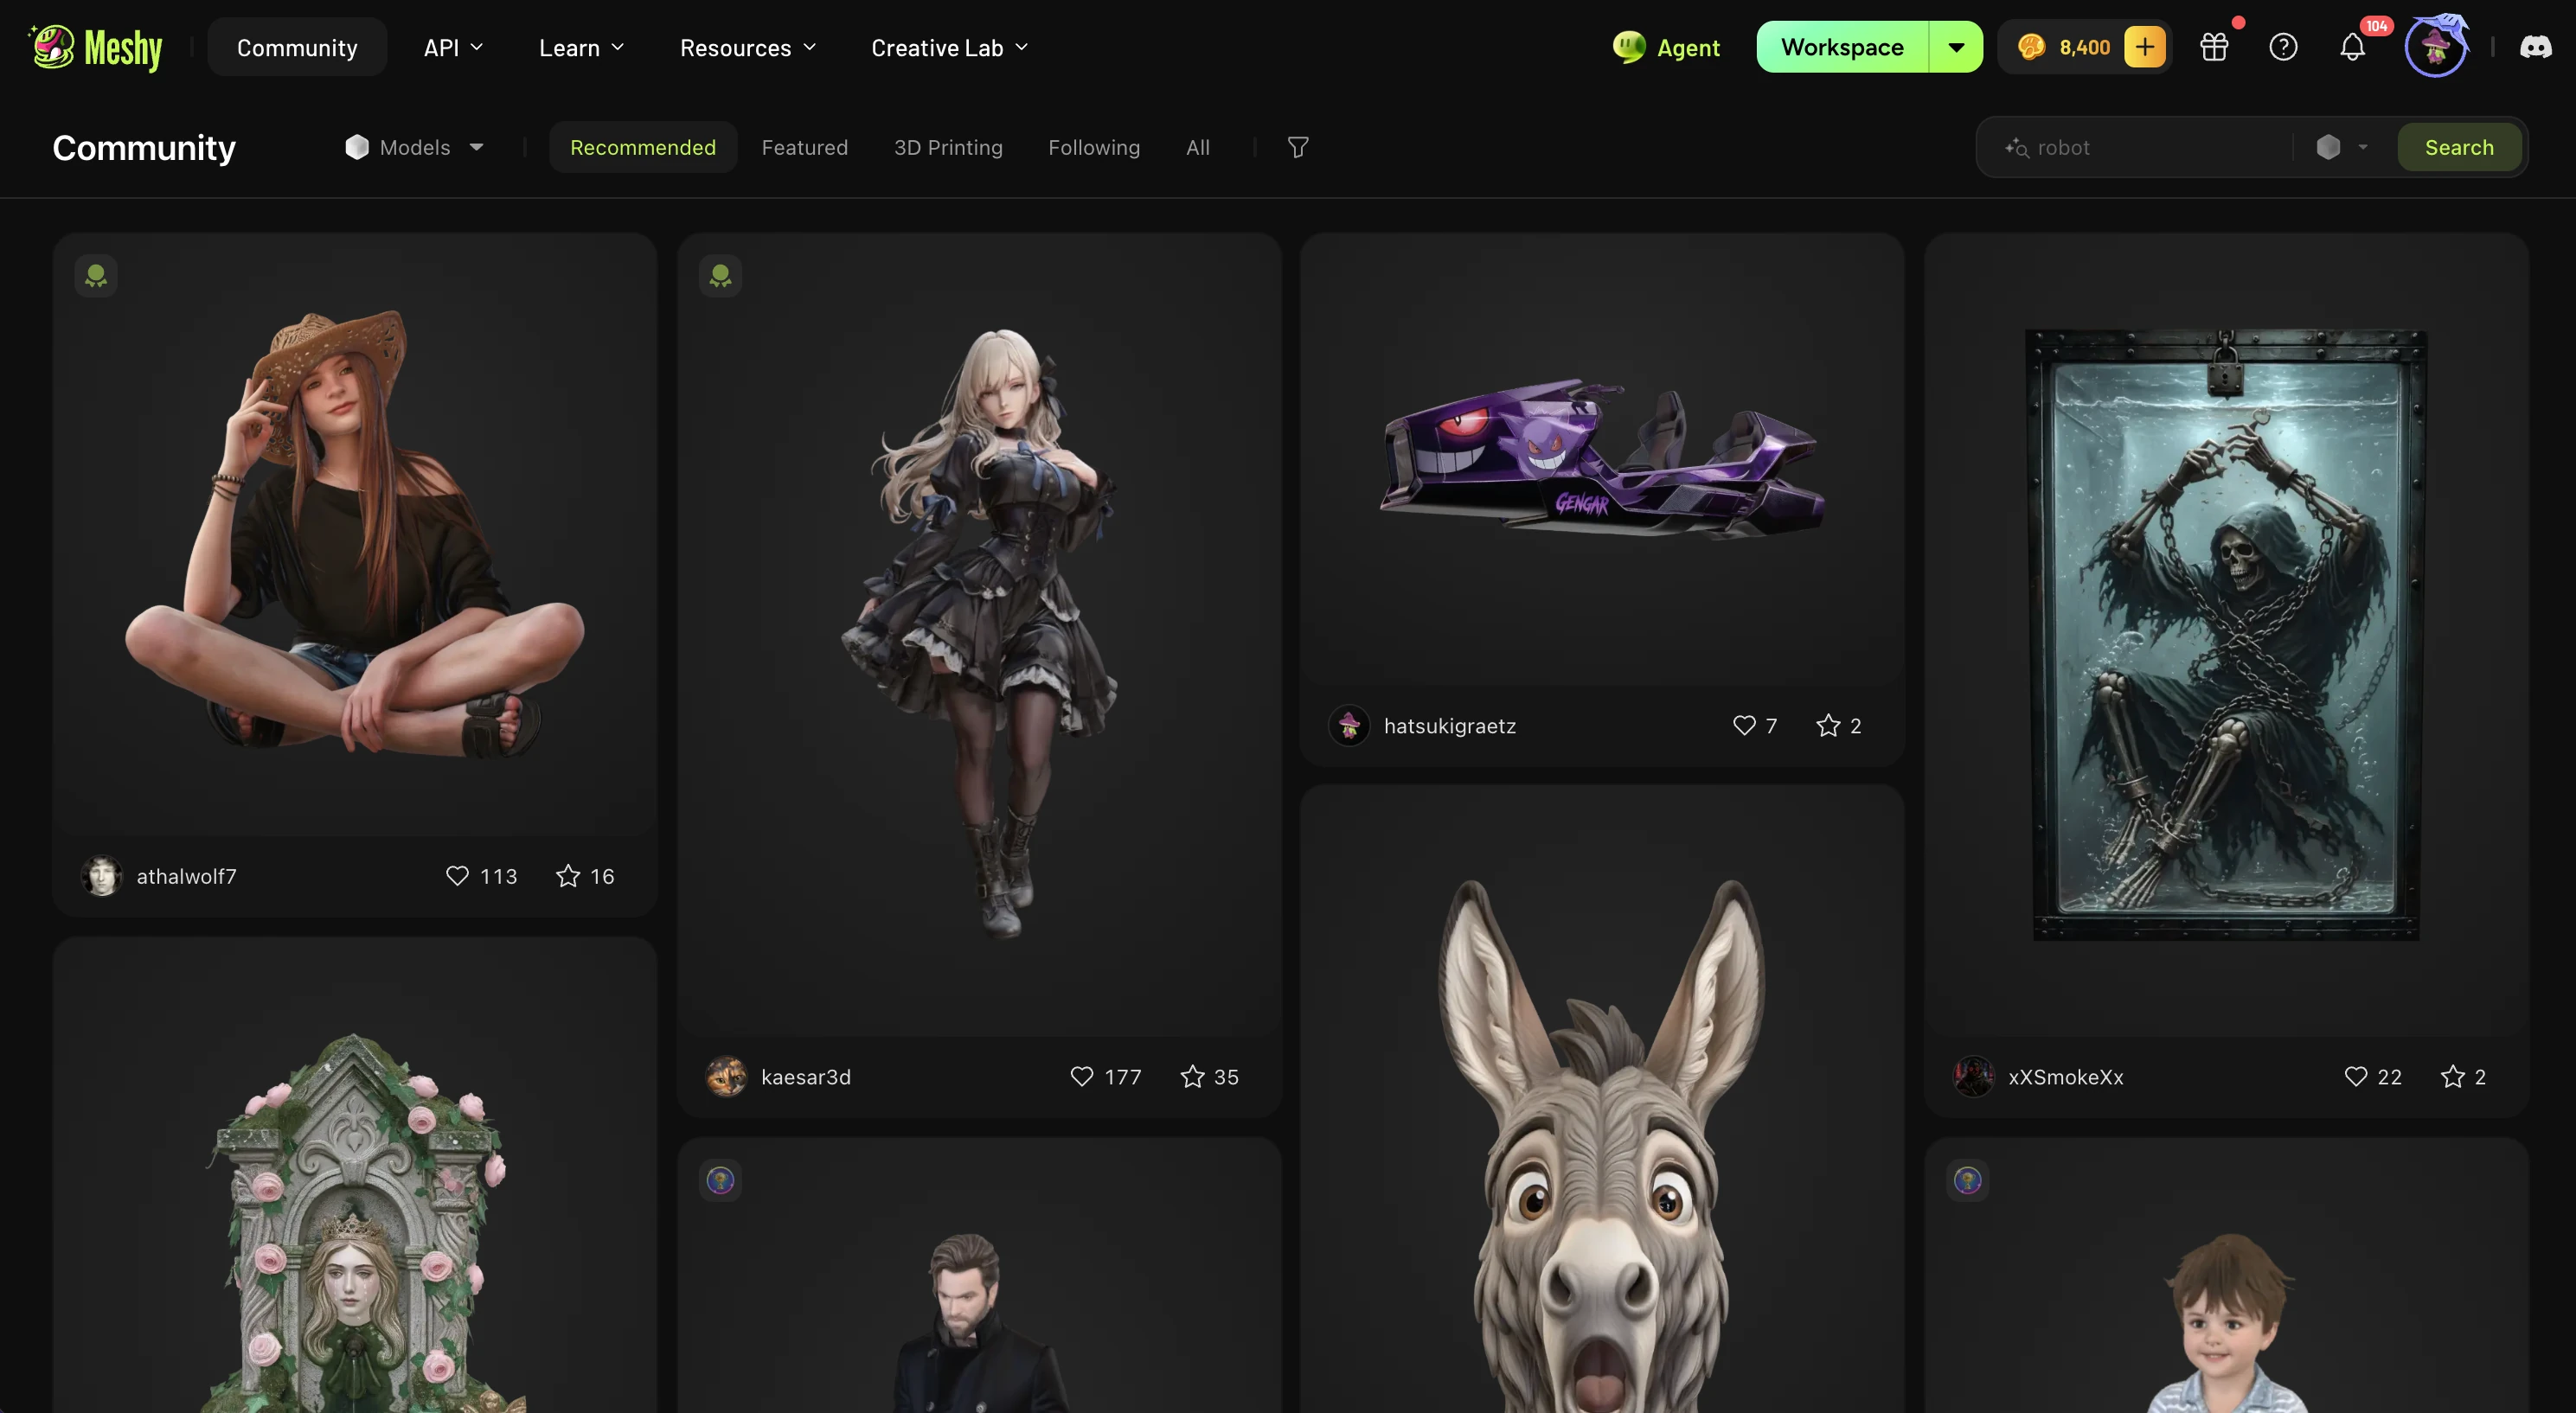
Browse thousands of community-created models in the Community tab. Use filters, tags, and search to find inspiration — or share your own textured models to build a following.
Learn More
-
📘 Tutorial Blog — practical tips and step-by-step walkthroughs
-
💬 Discord Community — connect with other creators
-
🔌 API Documentation — integrate Meshy into your workflow (Pro+ required)
-
🧩 Blender & Unity Plugins — use Meshy directly inside your favorite DCC tools
FAQ
How many credits does each task use?
See the credits table in the Free Credits & Plans section above. Quick summary: Text to 3D = 30 credits total (20 model + 10 texture), Image to 3D with texture = 30 credits. Free accounts get 100 credits/month — enough for 3 full generations.
I need to refine my AI-generated model — what should I do?
Match the fix to the problem:
-
Lumpy surface → apply Smooth modifier in Blender, or use Remesh in Meshy
-
Wrong texture style → re-texture with a more precise style prompt
-
Missing backside detail → re-generate using Multi-view Image to 3D with multiple reference angles
-
Needs rigging → Remesh to Quad topology first, then use Meshy's Animation tool
Why does my exported .obj file look wrong in another program?
Most common causes: the .mtl and texture files are separated from the .obj (keep everything from the export zip together), axis mismatch between programs (Y-up vs Z-up — fix on import in Blender), or PBR materials lost since OBJ doesn't support them natively. When in doubt, use GLB instead.
What's the best way to convert GLB to OBJ?
Re-export directly from the same Meshy task — both formats come from the same mesh, so scale and orientation match perfectly. If you only have the GLB, open Blender → File → Import → glTF 2.0, then export as OBJ with Forward = -Z, Up = Y, Scale = 1.